Hi again! Thanks for popping over my way! I have another set from
The Craft's Meow, releasing on Monday, called I've Got Your Number. This set, designed by Kaitlyn Ord, is in a word, awesome. It is graphic and grunge, as well as oh so practical. To be honest, I can't stop using it. I have put it on scrapbook pages and cards, as well as other projects. This set is seriously versatile.
In my quest to think outside the box with my stamps, I came up with a great way to utilize those fabulous numbers...a flash card set! I have a soon to be four year old who loves to learn. He is all about recognizing numbers, and I thought this would be a great way to help him do just that.
To start, I took white cardstock and cut my pieces down to 2 1/2 x 3/12. I then took patterned papers from the
Boarding Pass Collection by October Afternoon and adhered strips to the cards and rounded all of the corners.
I then took my numbers and stamped all the way up to twenty on the cards, adding a little flourish included in the set as well as some die cut stars. I also stamped an image from
Telegram, punched out the middle image (star) with a 1/2 inch circle punch and adhered that on most of the cards.
Jonathan loves them and wants to use them all of the time, so all the time and effort put into them was well worth it. Tomorrow is the last preview and then these goodies will be available...squeal! lol!
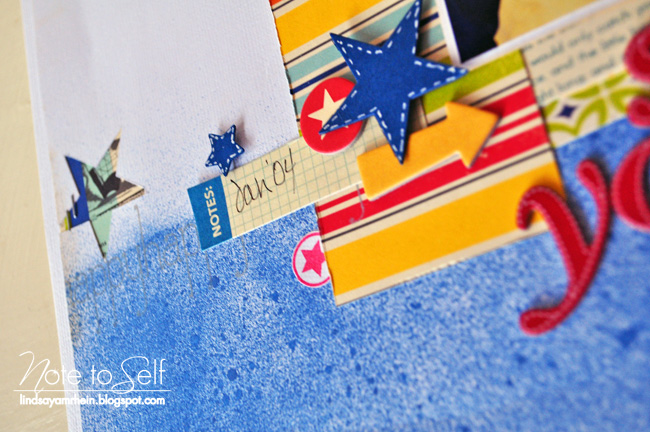
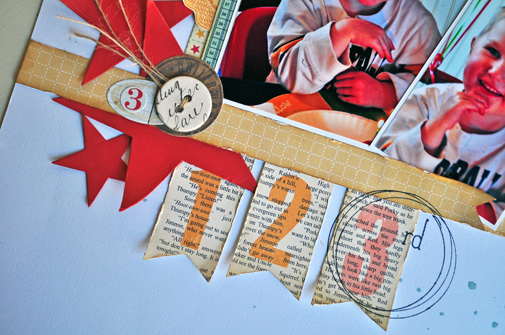
In addition to the flash cards, I also incorporated the stamps onto a scrapbook page!
Adding a bunch of stickers and die cut elements, I incorporated some misting as well as stamping .
I took the stamp and inked it up as is, then stamped it onto the corner of my page.
I also used the "happy" stamp and stamped it along the top of the misted portion of the page.
Thank you so much for scrolling through all of the pics! I hope you were inspired and are getting excited about this release!
P.S. I have enabled comments this week, if you feel so inclined to leave one!
Supplies:
Paper: White American Crafts, Red GinaK, Orange Zest, New Leaf, Enchanted Evening, Harvest Gold PTI
Patterned Paper: Boarding Pass 8x8 October Afternoon
Stamps: I've Got Your Number, Telegram The Craft's Meow
Ink: Harvest Fresh Ink, Tuxedo Black Tsukineko, Enchanted Evening, Ocean Tides PTI, Limited Edition Christmas (the red one), Rusty Hinge Distress Ink Ranger
Tools: Corner Rounder We R Memory Keepers, Star Die PTI, 1/2in circle punch EK Success
.JPG)


.JPG)